You wouldn’t know it by looking at the photos, but the day I made these cookies, I was in Russia in the year 1911. And, as soon as I was finished with these cookies, I was preparing to go to a very fancy dinner party with some very important people.
Prior to that night, the party hosts encouraged us to “bundle up in ‘furs and finery’ for a cozy dinner party. They forewarned us: “You’ll be plied with Champagne and caviar, followed by chicken Kiev and plenty of Russian vodka.”
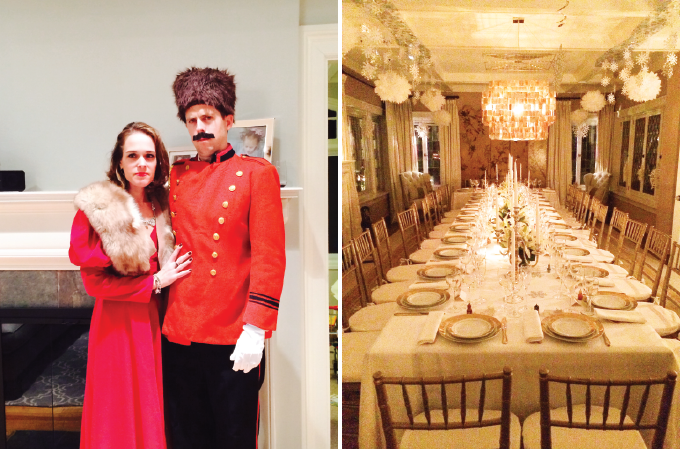
So, after these cookies came out of the oven, I grabbed my petticoat, my fanciest dress and my fur stole. I was excited to toast to pre-revolutionary excess!
The party was amazing. We were welcomed with a glass of Champagne and serenaded by a live pianist. As the night moved on, we moved into the home’s casino where we played a few hands with our friends. And, dinner. Oh the dinner. Dinner was spectacular. The dinner table was set for 30 and decorated in magnificent gold plates and serveware with towering candelabras.
If you’ve made it this far, you are probably wondering if I am losing it. Don’t worry, I’m okay.
I forgot to leave out the important detail that I was heading to a costume party.
You see, every other year in my town (Pelham, New York), there is an amazing fundraiser for the town library. The fundraiser is called “Novel Night.” On this night, 25 different novel-themed parties are thrown at homes around our town. Dinner hosts choose novels ranging from “Moulin Rouge” to “Jackie O” to “Hells Angels.” Our novel was Doctor Zhivago, a movie that covers the years prior to, during, and after the Russian Revolution, as seen through the eyes of a poet/physician.
It was as amazing as it sounded!
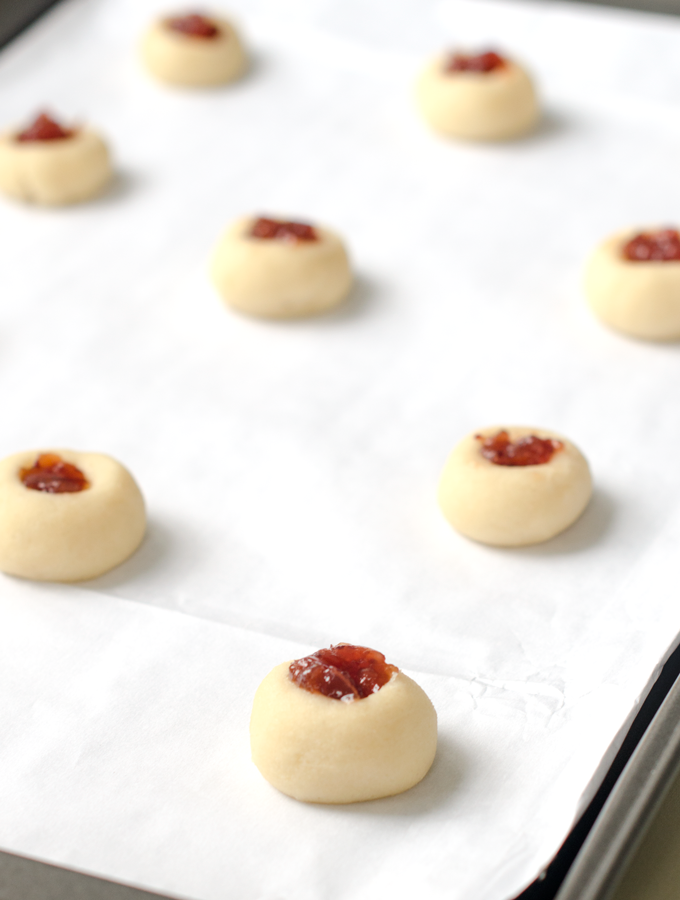
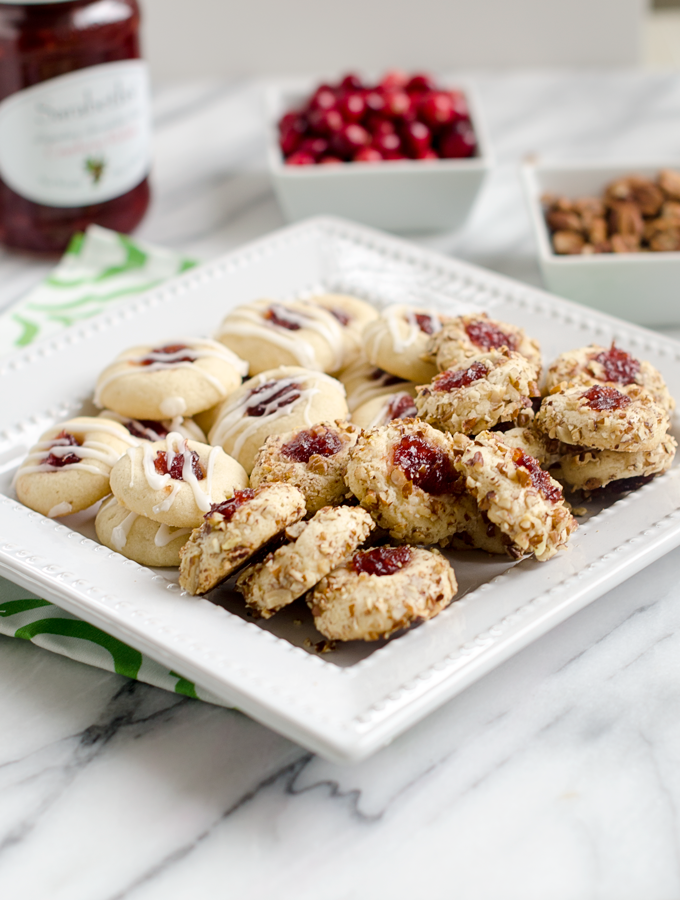
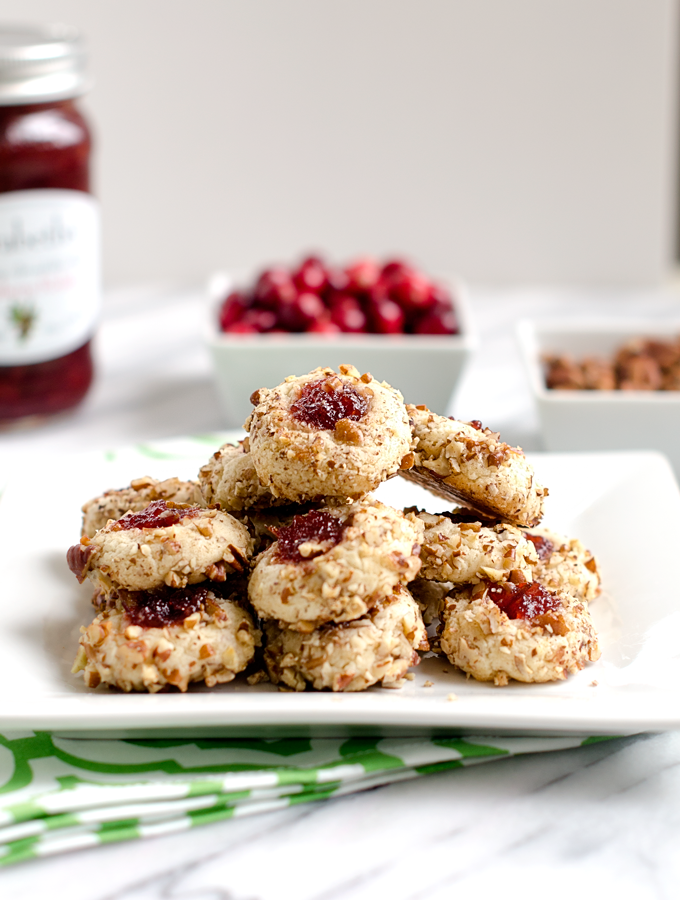
Speaking of amazing, I want to tell you about these thumbprint cookies. Here’s the short and skinny: these are a holiday hit! They are sweet. They are delicious. They are pretty!
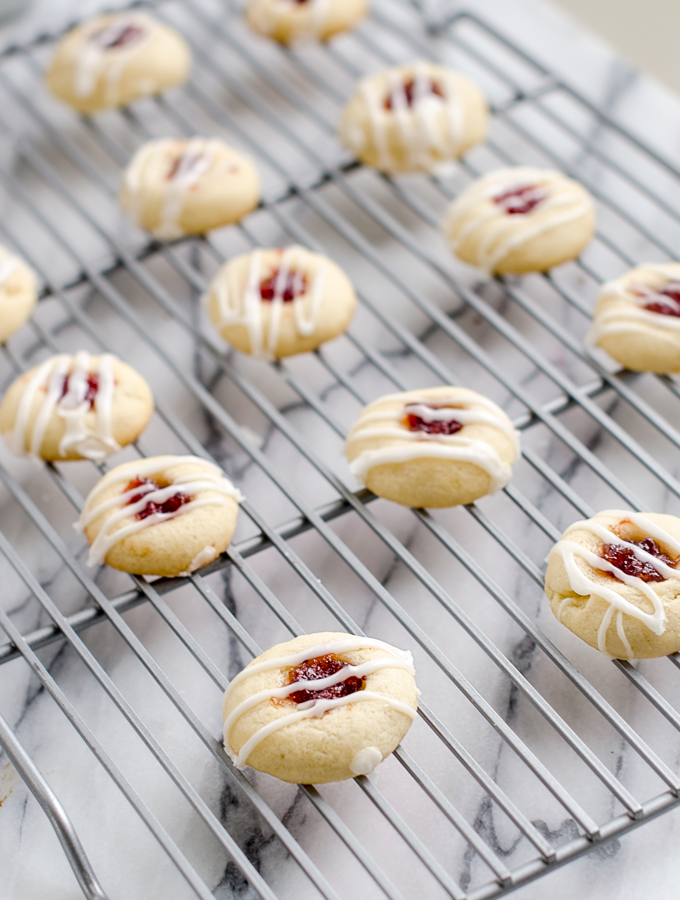
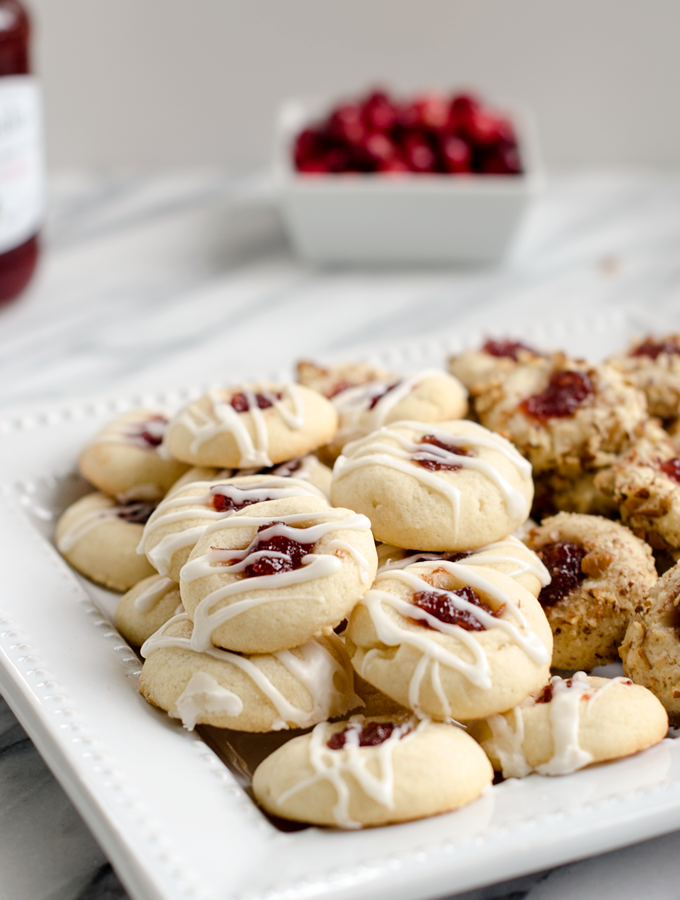
The “pretty” ingredients are easily interchangeable, which makes these a no brainer for your next party or cookie exchange. For the thumbprint center, you can use preserves, jams or chocolates. For extra decoration, roll the cookie in walnuts, sprinkle them with powdered sugar, or drizzle a sugar glaze on top.
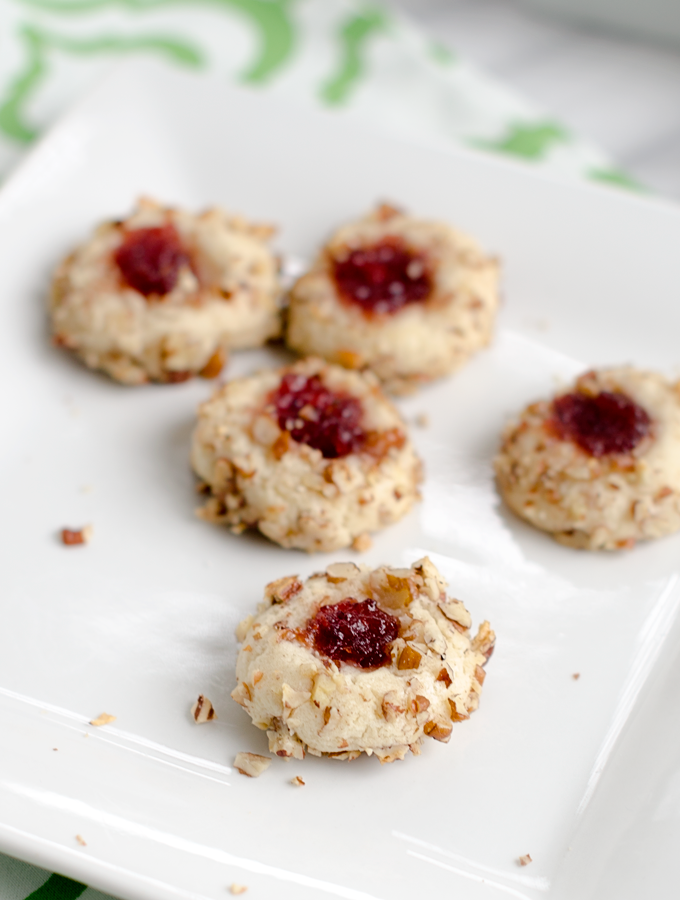
I made two different cookies using the same dough base: 1) walnut thumbprint cookies and 2) thumbprint cookies with a sugar glaze. Both had cranberry orange jam centers.
Thanks for making it all the way through this post. I hope you didn’t mind me sharing a little fun story about my Russian adventures before the revolution. As a special treat, here’s a glimpse into our evening that night in Moscow in 1911.
Za zdorovje! (Cheers!)
- 1 cup butter, softened
- ⅔ cup white sugar
- ½ teaspoon almond extract
- 2 cups all-purpose flour
- ½ teaspoon salt
- ½ cup jam or preserves
- For the walnut cookie:
- 1 beaten egg white
- 1 cup finely chopped walnuts
- For the sugar glaze cookie:
- ½ cup confectioners' sugar
- ¾ teaspoon almond extract
- 1 teaspoon milk
- In a large bowl, cream softened butter and sugar together in a bowl until smooth and creamy. Stir in almond extract.
- Stir flour into butter mixture 1 cup at a time and mix in salt.
- For walnut cookies:
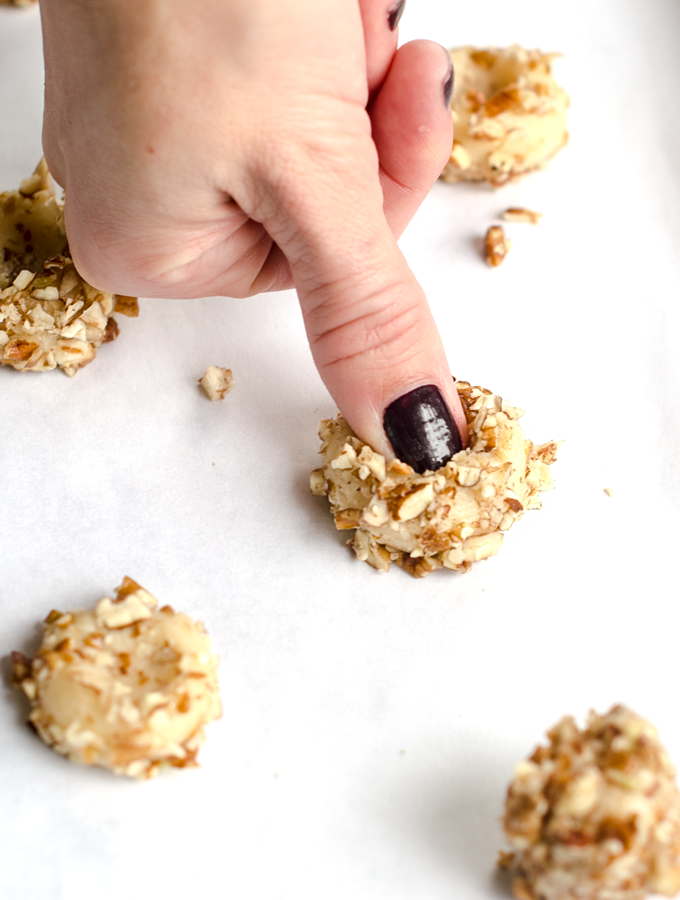
- Beat egg whites in a separate bowl; transfer walnuts to a shallow bowl. Pinch off and roll dough into 1-inch balls, dip each in beaten egg white, and roll in walnuts. Place cookies on a lined or coated baking sheet. Use your thumb to form an indention into the top of each cookie and spoon a small amount of jam into the hollow.
- Bake cookies in the preheated oven until very lightly browned, 11 to 14 minutes.
- For glazed cookies:
- Pinch off and roll dough into 1-inch balls. Place cookies on a lined or coated baking sheet. Use your thumb to form an indention into the top of each cookie and spoon a small amount of jam into the hollow.
- Bake cookies in the preheated oven until very lightly browned, 11 to 14 minutes.
- For the glaze: In a small bowl, combine confectioners' sugar, extract and milk until you have a somewhat stiff and thick icing. (Add more milk or more sugar until satisfied.) Dip spoon into icing and drizzle over cookies. Leave the glaze to set for a couple of hours.
Holiday Cookie #1: The Snickerdoodle